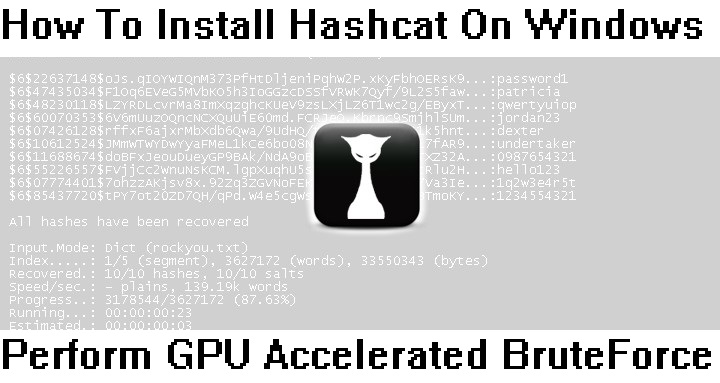
Here is a guide explaining How To Install Hashcat On Windows To Perform GPU Accelerated Brute Force
In this tutorial, I will be explaining how to install hashcat on your windows system to perform GPU accelerated brute force attack, This tutorial will be in-depth and I will be explaining everything from scratch step by step so that it will be easy for you to get started.

Now let me start this tutorial with some basic introduction
Well, hope you know the core advantage of using your graphic card to brute force a password hash instead of using your CPU, so basically I would say performing a GPU based brute force will be a lot more faster than CPU based brute force as the matter of fact is that GPU has more power than CPU. Here is a video demonstrating GPU based bruteforce and CPU based bruteforce on kali linux machine and the results are amazing and it's worth watching

Now to perform a GPU based brute force on a windows machine you'll need:
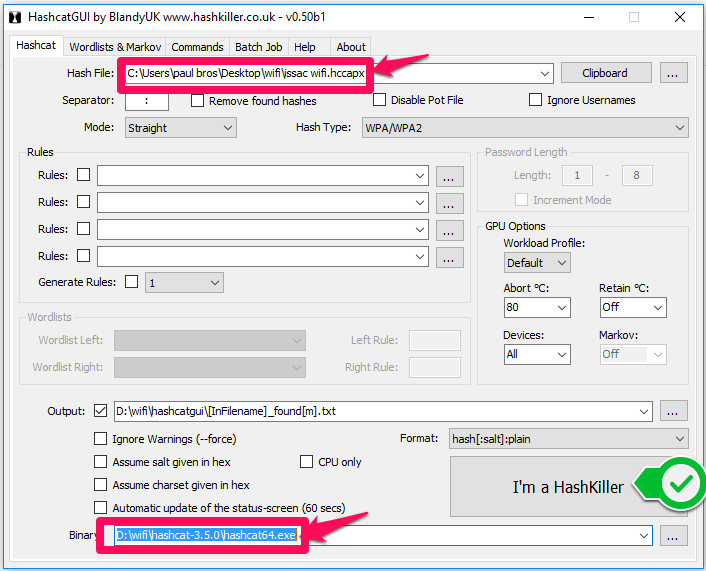
Now open hashcat gui and load the binary and then you'll need to add the hash file to crack the password hope you know it

3. Wordlist (I usually go with Rockyou and Darkc0de wordlist to perform brute force attacks, you can get those wordlist by simply googling) after adding the word list you're all set ready to go.
Still I recommend you to generate your own crunch list as per your needs as it will be more efficient and the success rate will be 100% if you generate your crunch list as per the need smartly.
Here is a video tutorial explaining how to genereate your own crunch list
Note: When you hit "Start button" the brute force attack starts when it's finished the command prompt will show something like "exhausted" and the cracked password will be stored in the "output location" which you've specified before.
Processor: Intel(R) Pentium(R) CPU G2010 @ 2.80GHz (2 CPUs), ~2.8GHz
Operating System: Windows 10 Home Single Language 64-bit
RAM: 4 GB DDR 3 RAM
Still finding it difficult to use hashcat ?
Here is an official video tutorial documentary for you by #hashkiller
Reasons why I prefer using hashcat on windows:
- Say buh-bye to terminal and say hello to the easy and simple GUI which is light weight and works as charm
- Even if you're gonna use oclhashcat on some good linux distro like kali (or) arch you'll need to install suitable linux graphic card drivers and catalyst ;_; it will be a pain in your ass to find the right linux drivers for your graphics card in order to get it work on you linux machine and it will be time consuming to open up the terminal find the codes and install 'em ;_:
So all I recommend is using hashcat on windows - It's been proven that hashcat performs faster than pyrit

Now let me start this tutorial with some basic introduction
Explanation for non-technical readers:
Well, hope you know the core advantage of using your graphic card to brute force a password hash instead of using your CPU, so basically I would say performing a GPU based brute force will be a lot more faster than CPU based brute force as the matter of fact is that GPU has more power than CPU. Here is a video demonstrating GPU based bruteforce and CPU based bruteforce on kali linux machine and the results are amazing and it's worth watching
Technical facts:
- A CPU core can execute 4 32-bit instructions per clock, whilst a GPU can execute 3200 32 bit-instruction per clock
- A CPU is designed primarily to be an executive and make decisions
- A GPU is different it has a large number of ALU's (Arithmetic/Logic units), a lot more than a CPU
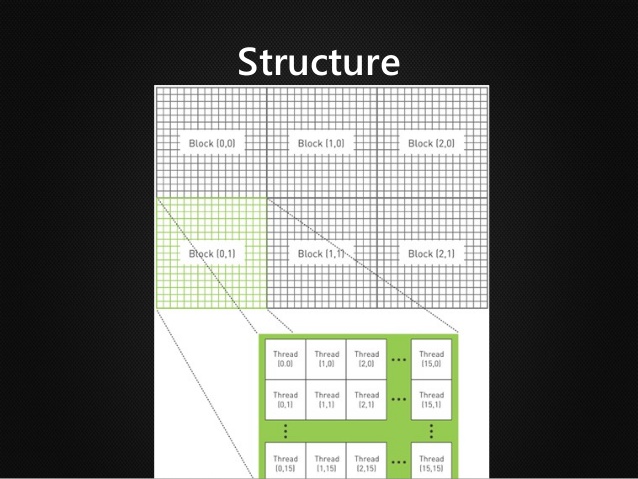
- One block of GPU can contain up to 512 threads

- Each thread on each block is executed separately
- As a lot of information is processed at the same time, parallel programming has a big impact on bruteforce the number of tries increases drastically on a GPU than on a CPU
Now to perform a GPU based brute force on a windows machine you'll need:
Now open hashcat gui and load the binary and then you'll need to add the hash file to crack the password hope you know it

3. Wordlist (I usually go with Rockyou and Darkc0de wordlist to perform brute force attacks, you can get those wordlist by simply googling) after adding the word list you're all set ready to go.
Still I recommend you to generate your own crunch list as per your needs as it will be more efficient and the success rate will be 100% if you generate your crunch list as per the need smartly.
Here is a video tutorial explaining how to genereate your own crunch list
My experience with Hashcat:
It hardly takes a maximum time of 10 minutes for me to perform a bruteforce with Rockyou and Darkc0de wordlists (I usually go with these 2 wordlists)Note: When you hit "Start button" the brute force attack starts when it's finished the command prompt will show something like "exhausted" and the cracked password will be stored in the "output location" which you've specified before.
My Specs:
Graphics card: AMD XFX 7770D 1GB Ghost EditionProcessor: Intel(R) Pentium(R) CPU G2010 @ 2.80GHz (2 CPUs), ~2.8GHz
Operating System: Windows 10 Home Single Language 64-bit
RAM: 4 GB DDR 3 RAM
Still finding it difficult to use hashcat ?
Here is an official video tutorial documentary for you by #hashkiller
Conclusion:
Hope this article "How To Install Hashcat On Windows To Perform GPU Accelerated Brute Force" was helpful to you, if you think the same then feel free to share it on your online social media profiles. If you've any queries (or) doubts feel free to drop them below, I will be glad to get back to you


COMMENTS